
Beats are amongst the most popular headphone brands in the world. They’re known for their sleek design, sound quality (especially in the bass range), and general overall functionality.
However, many people find that the components’ quality is sometimes lacking, leading to heavy criticism of the product line.
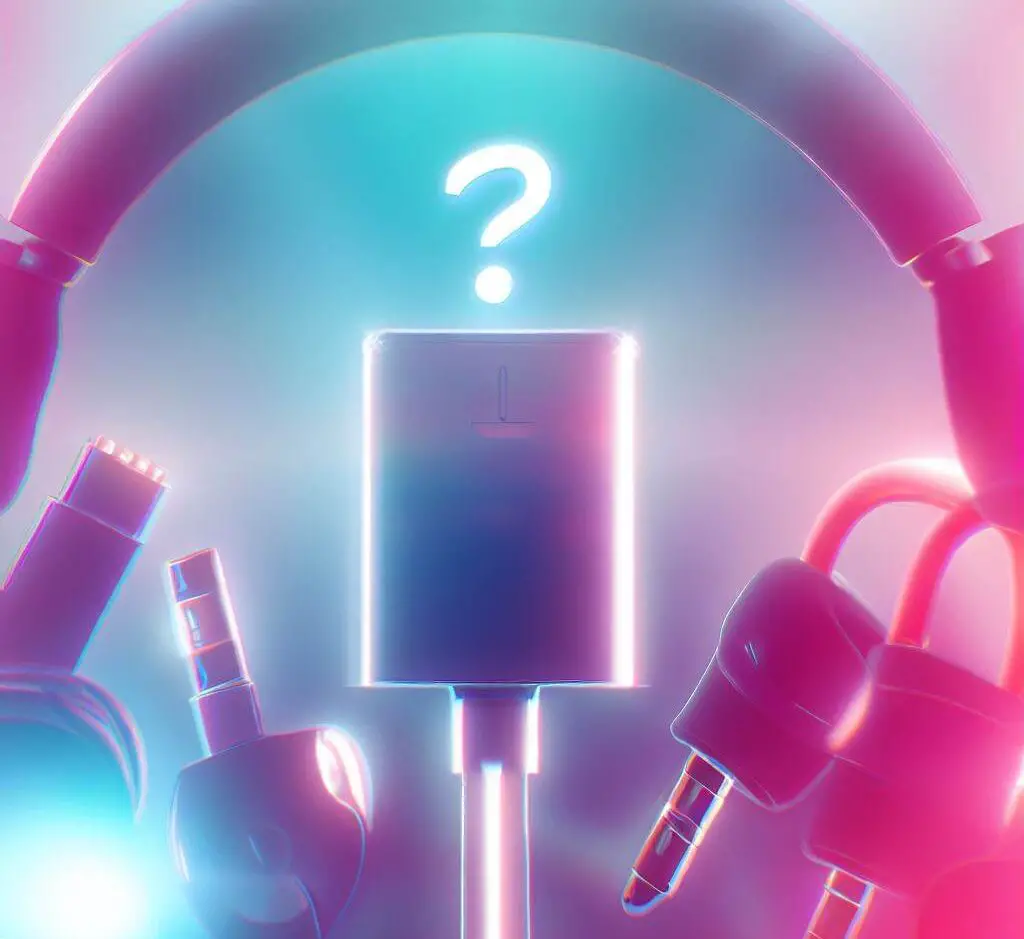
One of the most common complaints people have about Beats headphones’ quality is that they sometimes stop charging at seemingly random intervals.
If your Beats have recently started to fail on this component, we’re here to help!
Why Beats Sometimes Stop Charging
Beats may stop charging for several reasons. However, this is the first place to start your troubleshooting.
You’ll need to start replacing components one at a time to figure out which part has failed, and sometimes, the answer is more costly than simply replacing the whole headset.
Software Bug
This is by far the easiest thing to fix in the repertoire. Most of the time, when this happens, you can fix it by simply resetting your Beats.
Alternatively, simply power cycling (turning them off and then back on) may be sufficient to resolve the issue.
If you need to reset your Beats, you can do so using the following guide, based on the model of Beats you have.
Reset Beats Studio3 or Solo 3 Headphones
Simultaneously press the power button and volume button for ten seconds. When the charging light starts flashing, the headset has been reset, and you can try charging the headset again.
Reset Beats Solo Pro Headphones
Press and hold down the mode and volume down buttons for ten seconds. Only release the buttons when the light flashes red. Then try charging your headphones again.
Reset Beats Solo Wireless Headphones
This headset needs to be turned off to reset it. Once it is powered off, press and hold the multifunction buttons (call on, call off, and power) and the volume buttons for ten seconds. (Yes, all of those buttons). You will see the red and blue lights each turn on three times. Then the headset will be reset.
Reset Beats Solo2 Wireless Headphones
This headset doesn’t need to be powered off, but it can’t be connected to the USB charging cable when you reset it. Once the headset is disconnected from the charging cord, press and hold the power button for ten seconds, release it, then press and hold it for another ten seconds. If the charge level indicator lights flash white and one red three times, the headset has been reset.
The Charging Cable
This is by far the most accessible component to troubleshoot and fix.
Start first by testing the cable on another device. Since most Beats use a Micro USB or USB C cable, you can try it on another compatible device.
If the line charges the other device, an internal component of your Beats has likely failed. If the cable doesn’t charge the device, replace the cable and see if the new cable charges your moments.
If neither cable charges your Beats, move on to the next component.
The Charging Light
It is also possible that the charging light has failed, and there is no actual problem with charging your beats; the status light just doesn’t turn on.
To troubleshoot this, leave your Beats to sit as you typically would. Come back after at least an hour and see if they can turn on and function, and the battery indicator indicates that they have been charged.
With any luck, your Beats will be charged to 100%, and the panic will have been for nothing!
The Power Supply
It is also possible that your Beats are not charging because the power supply—the outlet or AC adapter you’re using—may have malfunctioned or failed. To test this, swap the AC adapter first, and check that the new AC adapter and cable combo charge a non-malfunctioning device. Then try the Beats.
If the outlet and AC adapter are functioning as expected with a different device, your Beats are likely the problem. Try another outlet if the outlet is not operating with either device.
Firmware Update May Be Needed
If you have already completed a reset and your charger and power supply both work, yet you are still having issues, a firmware update may be required.
If your Beats have been connected to an Apple product (Macbook, iPhone, etc.), then firmware updates should occur automatically. However, if your Beats have been connected to Android products only, you may need to manually force a firmware update.
To update firmware via an Android, you should download the Beats app for Android. From there, you just follow the steps given in order to update firmware.
Troubleshooting Step 2: Internal Components
If your Beats still won’t charge, this indicates a critical software or hardware malfunction that will need to be fixed by a professional. However, because Beats components are typically made in-house, this may be more expensive than simply replacing the whole headset.
Beats do have after-sales service, and Apple provides repairs for Beats headphones. We encourage you to look into these services if you’re having trouble with a set of Beats headphones.
It is worth noting that when you send your Beats to Apple, they typically send you a new headset and repair and sell your old headset as refurbished. As such, the restoration from Apple may be very costly as it’s essentially the same as buying a new headset.
The official Beats by Dre website offers information about the warranty they provide, and if your Beats are still under warranty, you can take advantage of that to get a new pair of Beats headphones in the same model you purchased.
Replacing Parts Yourself
For those well-versed in the world of electronic technology, you can also look to find the parts you’re looking to replace and do the repair yourself.
While we are supportive of people learning about technology and performing their maintenance and repairs, we do warn you that breaking open your headphones typically voids the warranty.
If you choose to replace parts of your Beats at home, you will not be able to have the headset replaced through the Beats by Dre warranty system. However, people whose Beats are no longer covered by a warranty may want to attempt replacing the part themselves.
However, to accurately make a replacement, you’ll have to be able to troubleshoot the internal components of your Beats effectively. Ensure that you have the appropriate knowledge before you begin, as once you open your Beats up to replace parts, you cannot go back. The warranty will be voided the moment you open them up, and you will not be able to have them replaced by the official Beats by Dre warranty system.
However, if you’re determined to do the repairs, you can purchase spare beats parts from FixABeat online. This retailer is well-known and popular for providing wholesale spare Beats Parts. The only downside is that you’ll need to know what part you want to buy before you buy it. Replacing the wrong part could be a costly mistake since you’d have to buy more spare parts to replace the correct part.
We don’t recommend that people unable to diagnose their Beats headphones’ internal components replace their internal ones.
External details like the plating or headband are easy to diagnose and replace, but replacing an internal component may require soldering components to each other and other technical skills that the average person doesn’t typically have. (If you knew what was necessary to diagnose and replace the element in your Beats, you wouldn’t be here reading this article!).
Avoiding Damage to Your Beats
It’s always better to prevent damage than to repair it. Here are some tips to keep your Beats in top shape:
1. Proper Handling and Storage – Always store your Beats in a protective case when not in use to prevent damage from falls or impacts. Avoid wrapping the charging cable tightly around the headphones, as this can lead to wear and tear over time.
2. Clean Regularly – Dust and debris can interfere with charging. Regularly clean the charging port using a soft, dry cloth or an air blower.
3. Avoid Overcharging – Leaving your Beats plugged in for extended periods, even after they’ve reached 100% charge, can degrade the battery over time. Always unplug your headphones once they’re fully charged.
4. Keep Them Dry – Moisture can cause significant damage to the electronic components in your headphones. Always avoid using your Beats in wet conditions and store them in a dry place.
Final Thoughts
While it may not be convenient, diagnosing and repairing your Beats headphones at home is possible.
Hopefully, you didn’t end up with a critical component error, and you could get your Beats back in working order without cracking them open.
But even if you have to get them repaired, there are many options for improving your Beats headphones.
Whether you decide to fix the issue at home or call in a professional, you’ll be able to get your Beats bopping again in no time!
FAQs
What can I do if my Beats are not charging at all?
Try resetting your Beats, checking your charging cable, ensuring the power supply is functional, and updating your firmware. If all else fails, it might be a hardware issue requiring professional help or a complete replacement.
How do I know if my Beats are under warranty?
Visit the Beats by Dre website and check their warranty section for information. You’ll need your product’s serial number, typically found on the box or the device itself.
Can I replace Beats headphone parts myself?
Yes, if you’re confident in your technical skills and your warranty has expired. But remember, opening your Beats typically voids any warranty, so proceed with caution.