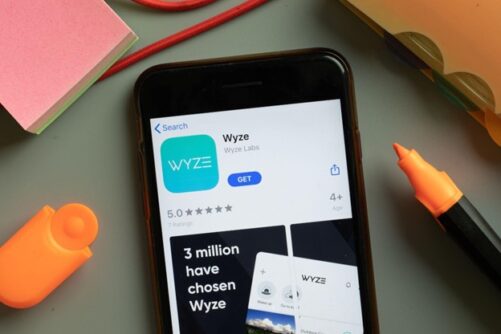
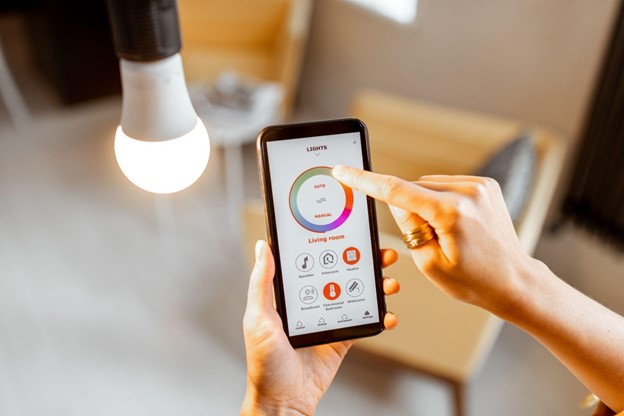
Wyze Labs is an important name in the smart home industry, with the Wyze Cam and the Wyze Bulb being some of the best-selling smart products on the market. Aside from their remarkable color temperature range and ability to adapt to your routine and environment intelligently, Wyze bulbs are energy-efficient and can save you hundreds of dollars yearly on electrical bills.
With such a fantastic product, running into issues like your smart light bulb failing to update can be frustrating.
Wyze is an incredibly reliable smart bulb brand, but users can still run into problems from time to time. Luckily, most issues that cause a Wyze bulb not to update are quickly resolved. With that, let’s look at some of the most common causes of a Wyze bulb not updating and how to fix it.
How To Fix Wyze Bulb That Won’t Update

Is your Wyze Bulb firmware refusing to update? Let’s look at the most common fixes to get your smart bulb up to speed.
Turn The Bulb Off And On Again
According to Wyze, the first troubleshooting method you should attempt is using the app to turn the light bulb off and on again before attempting the firmware update. While this might seem like a silly solution, restarting the smart bulb resets the device’s state and can eliminate the errors preventing your bulb’s firmware from updating.
To restart the light bulb, you can take the following steps:
- Navigate to the Wyze app and select the correct bulb.
- Tap the ‘off’ button, then tap it again to turn the light on.
- Go to Settings > Device Info > Firmware Version.
Restart Your Home Router and Modem
In some cases, connectivity issues can cause the firmware update for a Wyze smart bulb to fail. Similarly to restarting the light bulb, restarting your router can ‘reset’ the state of your Wyze device, resolving any connectivity issues that may have been preventing you from updating your Wyze bulb.
To reboot your router, you can take these steps:
- Unplug your modem and router from the power outlets.
- Wait 15 seconds or longer.
- Plug the modem in and power it on. Wait 2 minutes or longer.
- Plug the router in and power it on.
- Once the lights on your modem have turned green, test your Internet connection. You can do this by attempting to search the internet on a PC or phone with cellular data turned off.
- Open the Wyze app and select your smart bulb.
- Go to Settings > Device Info > Firmware Version
- Attempt to update your device.
Update While the Bulb is Turned Off
If you find that restarting the router didn’t resolve your issue, many troubleshooting methods are still available. Many users have found that powering the smart device off before attempting the update results in a successful firmware update. To do this, you simply have to take the following steps:
- Open the Wyze app and tap on the bulb that needs to be updated.
- Tap the ‘off’ button to the left of the brightness slider.
- Go to Settings > Device Info > Firmware Version
- Attempt to update your device.
In some instances, if a firmware update is required, you may be unable to turn off the bulb from the control screen (where settings like intensity and Wyze bulb color are found). Luckily, a workaround still allows you to control the bulb’s settings. If you navigate to the Wyze app’s main page, where all your devices are listed, you can turn each device off individually.
It’s important to note that you will need to turn the bulb off within the app rather than eliminating power to the bulb by flipping your light switch or breaker. When the light is powered off in the Wyze app, the smart components inside the bulb still receive power and can complete the update.
Try A Different Light Socket
In some instances, users have found that faulty wiring in the light socket can cause a Wyze smart bulb to malfunction. To test if this is the case, you can install your Wyze bulb in another socket before attempting to start the firmware update. The previous light socket may be improperly configured if the firmware update succeeds.
Remove And Re-Add Your Wyze Bulb
According to the Wyze support documentation, resetting your Wyze smart bulb in the app may resolve issues with installing firmware updates. To remove and re-add your Wyze bulb, you can take the following steps:
- Select the faulty Wyze bulb, then click ‘Remove Device.’
- Return to the home screen.
- Tap the ‘+’ sign > Add Device > Power & Lighting > Wyze Bulb
- Follow the steps in the app to register your Wyze bulb. Then, select the bulb and re-attempt the firmware installation.
Factory Reset Your Wyze Bulb
When you factory reset your Wyze bulb, all of the current settings are removed, and you are enabled to configure the bulb in the setup process again. If your WIFI settings recently changed or if you found that other troubleshooting methods were unsuccessful, this may provide a resolution to your issue.
To factory reset your Wyze bulb, take the following steps:
- Turn the light switch connected to your Wyze smart bulb on and off at least three times, leaving the bulb powered on.
- Watch the Wyze smart bulb and confirm that it starts slowly pulsing.
- Use the Wyze app to configure your factory-reset Wyze bulb.
Change Your Wyze Hardware Settings
Some users have found that changing the Wyze app settings allows the firmware update package to go through for their smart bulb. If you’ve exhausted other troubleshooting methods, these steps might be worth a try.
- Account > App Settings > Clear Cache File Size.
- Turn on ‘Enable Hardware Decoder.’
- Turn on ‘Running in the background.’
- Navigate to your Wyze smart bulb and attempt to push through the firmware update.
Update All At Once
While your Wyze app may fail to update individual bulbs, some users have found that updating multiple bulbs simultaneously causes the firmware to update successfully.
To try this, you’ll need to add your smart bulb to the app and wait for the ‘New firmware available’ pop-up to appear. Then, take the following steps:
- Click on ‘Upgrade them all at once.’
- Your Wyze app will then show a list of your devices and their firmware update status. For each bulb with outdated firmware, click “Update.”
What To Do If Nothing Is Working

While Wyze publishes official troubleshooting guidelines and maintains forums to help users resolve their smart bulb issues, users sometimes need extra help to get everything working as intended. In these cases, there are some additional steps you can take to attempt to resolve the issue and update your Wyze bulb.
Ensure That Your Phone’s Operating System Is Up To Date
In some instances, having an outdated operating system on your phone may cause the app to have errors. Luckily, checking that your phone’s operating system is up-to-date is simple.
Android
- Settings > System Updates > Check For System Updates
- If your phone finds an available update, it will prompt you to decide whether you would like to install it.
Apple
- Settings > General > Software Update
- Once you have opened the Software Update page, your phone will automatically check for updates and prompt you if any are available.
Ensure That the Wyze App is Up to Date
If your Wyze app is outdated, this can also cause issues with the function of your smart bulb. Apps are generally automatically updated on Android and Apple phones, but you may have an out-of-date app if your phone has poor connectivity. To check, you can navigate to the respective app stores and take the following steps:
Android
- Play Store > Menu > My Apps & Games
- On the My Apps & Games page, you will see the list of any apps queued for an update. Scroll to find the Wyze app, click ‘update,’ or choose ‘update all’ using the button at the top of the list.
Apple
- App Store > Today > Tap your profile icon
- After clicking on your profile icon, you’ll be brought to the Account page. At the bottom of the page, the Available Updates section lists every app you own that has updates available. Scroll to find Wyze and click ‘update’ or select ‘update’ at the top of the list.
*Additionally, you can “force” an app update by uninstalling and then re-installing the Wyze app.
Verify 2.4GHz WiFi
In the quest for a “smarter” home, many users are upgrading to 5.0GHz WiFi. Some routers also disable the 2.4GHz band in favor of 5.0.
Unfortunately, Wyze bulbs do not function with a 5GHz network. But fortunately, if your 2.4GHz band is disabled, simply re-enabling 2.4GHz may be the only “fix” needed to get your Wyze bulbs back online!
Clear the Cache
The cache can be cleared easily through the Wyze app. Simply access “App Settings” and then “Clear Cache.”
Call Wyze Support
To help users, Wyze maintains a public phone line that can be used for troubleshooting. While it might be inconvenient to wait for a tech support expert to help you, they may have specific insights into the error with your smart bulb that will allow you to resolve the issue.
In some instances, Wyze may also issue replacements for non-functional smart devices. You can reach Wyze support at (206) 339 – 9646.
Final Thoughts
A Wyze LED bulb is a fantastic addition to any smart household. Not only can they connect to WiFi and be programmed on a dimmer switch, but they also work with your home assistant of choice.
However, it can be frustrating if you’re having issues updating the firmware with your Wyze bulb. Installing home devices comes with many convenient usages and fun features, but unfortunately, troubleshooting them can sometimes be tricky.
Luckily, many methods exist to troubleshoot and resolve firmware installation issues with Wyze smart bulbs. And if the conventional troubleshooting methods don’t work, Wyze offers high-quality warranty policies to help you get your smart home working as intended.
We hope that if you’ve run into an issue with your Wyze smart bulb, one of the solutions in this article will help you get your devices working again.

